

Let’s get started.
- Log into your WordPress Website dashboard
- Go to Plugins -> Add Plugin
- Search for WPForms.

- Click Install Now

5. Click Activate.

6. Navigate to WPForms on the left-hand menu.


Customize Form Fields
Once you have selected the form template you will be taken to the Fields screen.
On the left panel, you will see fields available for you to use. On the right panel, you will see an editable preview of your form.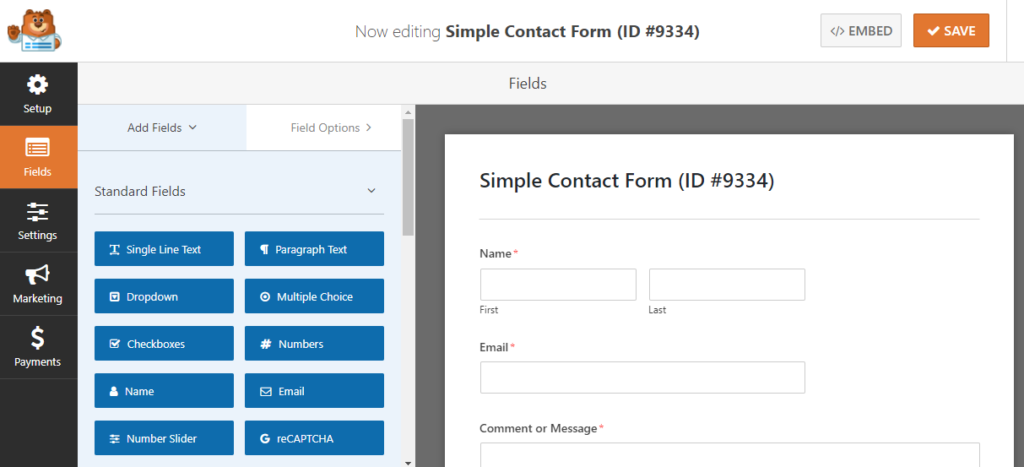
Either edit an existing field or drag and drop a new one. To add a field to your form, you can do so from the left panel directly into the form preview.
How to Access and Edit Field Options
To view and edit the field options, click on the field in the preview screen. The field options will then appear in the left panel.
Make sure to use the tooltips (?) if you are having any problems understanding what to write in each field option. You can also add smart tags as well. (Smart tags are short codes that will bring in the text entered into the field when front end users fill in the form, like the name, email address etc.

At this stage, press the Save Button before we move on.

The Next Step is to Edit the Form Settings
Click on the Settings tab on the left side of the Form Builder. You will see the General, Notifications, and Confirmation tabs.

- In the General section, you can change the form name and description etc. Remember to Press Save.
- Configure the Notifications settings. Notifications are emails that are sent when someone fills in and submits your form.
- Form confirmations are sent to inform users that they have successfully submitted a form and to provide more information and options to users.
You are now finished setting up your form. Save your form on the top right and then press X to close the form builder.
How to Display Your Form on Your Website
Some of the ways you can display your form on your site via a page or widget.
Add Your Form to a WordPress Page or Post
Firstly create a new WordPress page/post or edit an existing one.
Whether you use a page builder or the built-in WordPress block editor, locate WPForms and select the title of the form you just finished creating.

